Thursday, 5 September 2013

Resistance is Futile

The trouble with commuting is that you have two hours each day to fill on a train.  I tend to work most of the time but on quiet days I browse.  Ebay is a great place to explore and last week I realised that it is a good source of portholes.

On Saturday I will be collecting a pair from Gillingham and one from Deal.   Pairs are better.  It is less important that they all match (the odds of finding enough of the right size all the same are low) but as long as I get pairs I can place one each side of the ship opposite each other to at least keep uniformity.

The singles can be added into areas where rooms are on one side only (like the kitchen).


But while ebay is a good source I suspect I will still need to go to Trinity Marine in Exeter to get the bulk.  Sigh.  Its a long way and I will need a big van to both carry the cash needed and the portholes back.

Thursday, 29 August 2013

Portholes returned

I have to admit that progress has been slow lately.  But things have not stopped completely.  The portholes have returned.  A big thanks to Craig who sorted these out during difficult personal circumstances and family loss.  Enjoy your holiday Craig.

Friday, 19 July 2013

Melting

The summer winds, are blowing in across the sea... or so the song goes.  But not in Hoo.  The heat from hell is warming Gannet up into a 600 ton sweat box.  Ouch.  Luckily there is now enough air flow to keep it bearable.  But the heat has kept me off the main deck and doing the woodwork and I have moved down into the other 4 cabins to make them usable.

Necessity has meant that I will need to start to use those cabins while I complete all the upstairs work.  Simple common sense really.  The cabins would have been the last thing to do and the work upstairs is simply put, enough.  So rather than squeeze into the dark dark portholeless cabins I currently live in I will clean up the other 4 and expand until the upstairs is completed.  At least to a certain extent.

The 4 cabins with portholes were originally the captains side.  So the set of rooms is of higher quality.  They are also much lighter with natural light coming in.  At least my body clock will start to reset again.

The first room to be cleaned was the old captains mess.  It has come up a treat although it took nearly 8 hours of solid cleaning (walls scrubbed, the whole works).  The old seating cushions now gone, I fitted a makeshift seat cushion system for now.  Refitted the TV and phone etc and put down some carpet (thanks Ian and Sue for the off cut).

It really is quite pleasant down there now.  Just three more cabins to clean.


Some art, a few books, a couple of lamps and hey presto.  Could be comfortable.


Wednesday, 26 June 2013

Weather systems on Gannet

It has been some time since I posted.  I have been ill.  Chicken Pox eradicated the only spare time I had on board over the last few weeks.  It did give me the opportunity to sleep a lot on board.

One thing I realised was that while the winter months were cold the fight in terms of keeping warm revolved around the ari flow.  There was a constant draft from the upper deck, down the stairs and into the cabin section.  But now the weather has warmed up this air flow has stopped.  Not a bad thing in one respect but I soon realised that with the air horns sealed up on deck (to stop freezing air getting in) there was no fresh air coming into the rooms.  Gulp.  I nearly suffocated (ok over dramatised).

What of course is occurring is the simple fact that cold ari sinks and warm air rises.  So in winter the cool air on the upper deck sinks down the stairs giving a nice clean air flow into the cabins.  With the warmed up weather the air no longer sinks.  Its basically got its own weather patterns on Gannet.

This of obvious really but does lead to some rethinking.  The air flow will need to be more sophisticated.  The air horns on the deck simply allow too much cold air into the ship and to close them off leaves the ship basically air tight.  I will need to fit some basic warm air ventilation into each area to provide fresh air without full force direct exposure to the external cold air.

Friday, 3 May 2013

Tray bon

Yesterday saw me clearing the stove pieces to the back of the ship.  Good weight of scrap.  It will never go back together as it was a complex jigsaw of interdependent pieces.  Shame but there you go.  When the room was clear and cleaned attention turned to the tray that the stove sat on.  The condition of this was just awful.  It was rusted beyond a point of recovery to a standard that would make it look ok in a renovated room.  So it had to go too.

Of course it did not go without a fight.  The hammer I was using to free some of the rust from the bolts broke.  Maybe I was a little over enthusiastic beating the rust to death.   The tray has 4 legs.  Each leg welded to the metal floor.  But the metal floor is under an inch or so of concrete.  Out with the reciprocating saw.  Solution to all problems lately.  With the feet cut the tray came away easily (but as usual weighed a ton).


The last job was to put up the walls.  This was done in a few hours and I am happy to say (apart from where the chimney goes through the ceiling) that room is now done.  Next job is to fix the conduit and wiring.  I will do this as an experiment as if there are wiring issues caused by the wood now is the time to learn before starting the wood elsewhere (next room is the new toilet).


Finally, it looks like I may have found a source of new portholes!  cheap too.  Watch this space.

Wednesday, 1 May 2013

Chim Chim-in-ey

Chim chim-in-ey, chim chim-in-ey 
Chim chim cher-ee!
A sweep is as lucky, as lucky can be
Chim chim-in-ey, chim chim-in-ey 
Chim chim cher-oo!
Good luck will rub off when I shakes 'ands with you

Well, not quite.  But dismantling the stove left me looking like one of the sweeps out of the movie Mary Poppins. 

It will be no surprise that the job was not easy.  The stove is basically screwed and bolted together large sheets of very very heavy steel and filled with bricks.  It took several hours.  But in the end Simon 1 - Stove nil.


First job was to remove the chimney.  It was covered in heat protection.  Nasty fibreglass type stuff so protective gear on and breath kit in place.


Next job, remove the chimney flue connection to the stove.  Relatively easy job.  This was the first time I noted that most of the stove is a kit bolted together.  Obviously at this age the screws and bolts are well rusted.


Next job was to remove the stove top.  Held down by 4 rusted screws meant that I had to drill them out to get the top off.


With the top off it was rather like a chinese wooden cube puzzle as each piece is interlinked and it has to be dismantled in order or it would not come apart.  Also, heat retaining bricks needed to be removed to get to other parts.


Eventually I realise that many of the screws and bolts needed to complete the job were underneath.  So I had to remove it from the plinth upon which it was bolted.  30 mins later and a lot of working upside down in the dark with rusty bolts and nuts I managed to separate the system from the plinth and move it to the floor.  It weighed a ton.  I then realised that the weight of this was such that it could not be moved as a whole but needed to be taken to its smallest parts.


3 hours later, the parts.


What was interesting about this stove was how inefficient it must have been.  There were 4 heat retaining bricks in the whole stove.  It really was not designed to retain large amounts of the heat produced from the small fire and I cannot see how anything could be cooked effectively.  But the job is now done and work can progress on the wood around the remaining walls.


Friday, 26 April 2013

Delays

Frustrating delays on the porthole front.  The guy who does the sandblasting has gone on a long hol apparently.  So no progress.  The good news is that the new bout of warm weather has made a pleasant change on board.  Temperatures are at comfortable levels.

Tonights plan (now there is no need for the fire) is to dismantle the stove.  It should just be bolted together.  If so, getting it into parts should be straight forward.  Then stick it on ebay.  It needs restoration but is doable.  Just beyond my capabilities on the ship and my interest.  Even if it could be restored it is not the right fire for that location.  The fire box itself is too small and fiddly and does not produce enough heat to be useful.

Anyone interested in the stove is welcome to it.  Any of my followers can have it for free if they pick it up as a reward for loyalty to my blog.

Progress with the wood work has been slow.  Been busy for last few weeks.  With only one wall left to do in the mess the end is in sight for that room.  After that, bathroom I think.

So much to do, so little time.

Still, leaving the marina yesterday morning in bright warm morning sunshine and no noise other than the sounds from the various birds inhabiting the river reminded me why I am doing this.

Thursday, 11 April 2013

You've been framed

Good progress yesterday with the ceiling of the mess woodwork put up (some of it).  Hard to make even, parallel etc etc etc.  Moan moan moan.  But its up and it should be enough to hold up the ceiling.

The tricky bit was the frame to box in the air vent.  It took most of the day fiddling around with the saw and nail gun.  But its up and it should do the job.


Thursday, 28 March 2013

Level - I wish

The first all day session on the boat for some time.  I had the BT engineer coming to fit a telephone line so I had to take it off anyway.  Two things were on the agenda yesterday.  The BT engineer was due to fit a telephone line to the ship (which should have been easy) and a delivery of 100 pieces of 1 by 2 from the timber yard.  Timber in the morning.  BT in the afternoon.

The morning was spent using up the remaining 1 by 2 on the mess walls.  I ran out about 10.00 am.  So I started to grind off the old rusty around the rivets on the inside of the ship.  The surface needs to be clean and rust free (ish) to give the insulation a better chance of sticking.  Messy but necessary.

Cut a long story short, despite telling BT it was a ship and with all the other ships having lines the BT engineer took that deep intake of breath followed by ' specialist job this'.  But after lots of huffing and puffing off he went and fitted a line with me working as engineer's mate.  He of course turned up an hour early which was great.

Sadly the wood due in the morning was late.  By an hour beyond the latest delivery time ensuring both BT and wood guy were present at the same time.  Sigh.

But with wood on board and new line fitted I could progress on.

The speed of progress as I get used to the handling of the nail gun, the cutting of the wood and the fitting of the battens meant I completed another wall in an hour or so.  

Ceilings next, but there lies a whole story of woe.  Nothing in the boat is level, parallel or straight.  Nothing.  The problem with using a spirit level is that while it enables you to make a piece of wood level in relation to the planet earth, if the boat itself is not sitting level then it will look like the set of a 1970s batman episode.

But luckily the boat was relatively level yesterday (I use the door ways as the baseline.  But the ceilings are a different story.  It turns out that not only does the ceiling slope (to make the roof angle towards the edge to make water run off, very sensible) the beams that hold the ceiling up are arched (as is the roof) so that if you put wood along the edge of the beam there is a big gap in the middle.  On top of that the beams are not parallel, even spaced and two are actually bent along their length.

Needless to say, after a long day, the ceiling can wait.

Tuesday, 26 March 2013

Nail Gun

The day arrived, the batteries charged, the gas in place and the nails loaded.    First battens clamped to the uprights and time to nail that sucker!

Eye glasses on.  Push nail gun onto wood, fans kick in, whirrrrrrrr, pull trigger.

BANG! SPARK!

Oh my god who invented this!  Nothing prepared me for that! lol

But there was a nail nicely embedded in the wood and they were well secured.  But lordy, what a bang.

The next few nails made me wince.  You try and pull the trigger and wince before it goes off.  The next few nails went ok and then it started to go wrong.  I'd push the nose of the gun onto wood, the fans would start, I'd pull the trigger and nothing would happen.   Try again.  Nothing.  Push in harder this time (yes this is starting to sound like a Carry On script) and wince, pull the trigger

BANG

Holy crap!

Then nothing on the next two.  Hmmm.  This is less like nail gunning and more like Russian Roulette of the building world.  My heart cannot take the uncertainty.  Surely this cannot be right.  I referred to the instruction manual (which I had read thank you very much) and it is just pictures.  But one set shows the whirrr and no bang.  It says a nail is stuck.  So I dismantle it as per diagram but there is no nail in it.

Hmm.

What I noticed is that there were only 4 nails in the nail strip left.  So I put in a new strip.

BANG

Worked fine.  Then, after a while the same thing happened.  Strip it down again, nothing!  Again, last 4 nails in strip.  Put in a new strip and

BANG  off it goes again no problem.

The damn thing won't work when there are not many nails in the gun.  You have to put a new strip in as the spring is not strong enough it seems.

The paslode im350 is quite expensive but certainly does the job if you can stand the noise.  It speeds up the process.  You have to be careful as with 1 by 2 the nails can split the wood.  But mainly you get used to it.  Its not very heavy (which surprised me) and once you start to handle it right (do not be too gentle with it, it is not  craft tool, its a nail gun and you have to be quite rough when loading each nail when you push down on the nose).

But I did the remainder of the wall in about 10 mins which would have taken a good hour.

Its performance on the 2 by 4 was especially impressive.  Having tried to put a screw through the 2 by 4 and ruined 2 screw driver heads in the attempt, the nail gun put through the nails as if it was butter.  So for delicate work its over the top but it does what its designed to do well.  A few more walls to do now and then its time to tackle the ceiling.  Anyone got anti gravity MDF?


Thursday, 21 March 2013

All in all its just a nother stick in the wall

Ok, I accept that is a poor rip off of Pink Floyd's Brick in the the Wall.  Sorry.  Its hard to be funny at 8.22 in the morning.

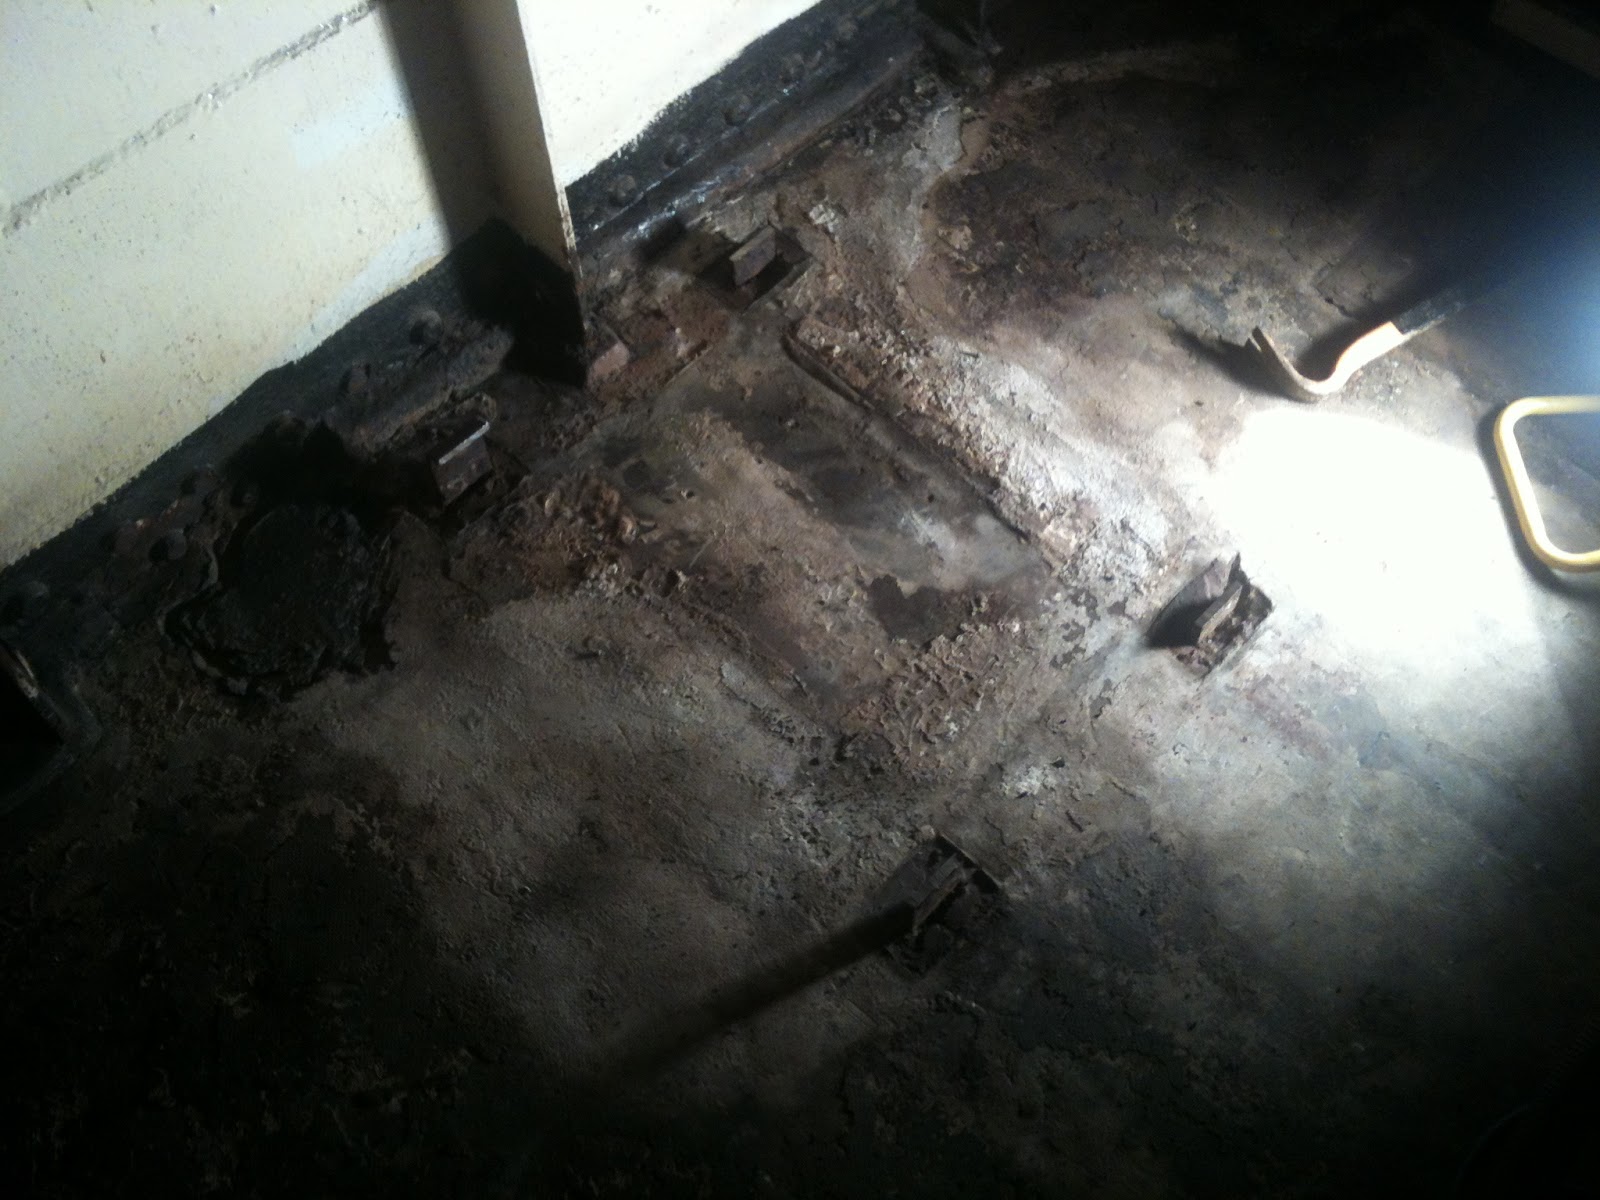
The walls are closing in.  But only slightly.  The wall build is starting and it is going both quite well and quite fast.  The photo below shows the first bit of 1 by 2 that went in.


This is a landmark really.  It is the first 'rebuild' piece on the ship.  The wooden frame is going to be built out of 1 * 2 and 2 * 4.  All treated wood to help it last longer.   The uprights are easy to fit as they are replacing existing ones in this space.  The trick though was what to do about the cross pieces.  I could have cut out lots of individual pieces and tried to nail gun them in (hmmm, nail gun, droool) but I thought that this would be time consuming.  

What I have done (further photos to follow) is build the cross beams on top of these which extends the wall thickness outside of the existing metal beams.  The reasons I have done this are simple.

1) The build is far quicker and makes no cosmetic difference as it will all be behind the wood anyway.
2) The speed of build is much much faster and more importantly easier.
3) There is no worry about structural strength.  Unlike stud walls these ones get their strength from the underlying metalwork.  There is no worry about rigidity.  When this baby is built, it isn't going anywhere.
4) The porthole boxes will be easier to build.

the 5th and final reason (which is actually the main reason) is that this extra inch thickness to the wall makes no difference to the size of the room but will enable me to put in more insulation.

The spray insulation is expensive and the reason for using it is that it will insulate and seal the metal from the warm air and stop damp and condensation.  But once sprayed on I can then put in conventional insulation (if I wish) in the outside walls.  I could just keep spraying to the required depth but the foam spray is expensive.

The insulation could then be

Layer 1 metal
Layer 2 foam insulation
Layer 3 rock wool (or similar)
Layer 4 Plastic insulation sheet (its like cling-film and seals everything below)
Layer 5 MDF
Layer 6 Plasterboard

Heat loss should then be minimal and in summer, the place should not heat up.

I preach all the time to people that when rebuilding boats, its worth doing well as redoing it later is hard and expensive.  The layers here may be well over the top.  But if that is the case I will simply have been inefficient £ wise on the build but the result will be extra warmth and lower £ running costs later.  

If I have learnt one important lesson this winter and in visiting other boats on the marina its this.  They are wonderful places to be when warm.  They are frustrating and uncomfortable when you have to fiddle around with lots of wires and fires and heaters and stuff.

Even without the nail gun in action (that is tonights joy) I managed about 2 walls in a day.  This should mean I can get a room done a week in evenings.   The trick will be getting the wood delivered.

Medway builders merchant is a great place to buy wood.  £1.28 plus vat per 3m length of 1 by 2 and they are much cheaper than all other places and they deliver all orders over £50 free.  Thanks to Chris for the great deal on the wood.  Lots more to purchase!

Monday, 18 March 2013

Wood stock

Finally the wood arrived.  Time to build some walls this week.  A big load of 2 by 4 and 1 by 2 came at the weekend.  Still not sure what to do with it but the arrival of my new nail gun (big grin) meant I needed some wood to start to try a few things out.

Nail guns are dangerous things apparently.   Can't imagine why lol.  The guy at the shop did say read the instructions as the are unforgiving and you only get to have one accident.

The walls will be built out of a combination of 1 by 2 and 2 by 4.  The trick will be sorting the ceilings.  I am going to start in the mess as the holes for the wood are al in place as it was already wood lined.  Once I get a few in place I am sure I will learn quickly.

Friday, 1 March 2013

Portholes off for cleaning

The final set of portholes head off for cleaning this weekend.  Hopefully a fast turn around will ensure that the boat is finally sealed up and ready to start work on.  The last few cleaned portholes went in yesterday and look FAB.  Dave has located a source of the round head bolts used for the portholes enabling us to get a stock ready for any other new portholes that are needed for the ship later (well done Dave).

The next work for Dave will be around the front of the ship.  Getting the front room sorted is going to be a priority as getting this done now will enable me to dispose of all the steel and also the front locker will be a source of steel for the chain room.

Lots to do but all starting to come together.  Still need to source a load of new portholes (gulp).  Big bill coming.

Thursday, 28 February 2013

62 cm is simply too big

The ship interior is quaint.  Doors are small ship like things with brass fittings, the doorways are narrow and cause untold damage to shins if you are not used to it.  The stairs are all but ladders and take some getting used to.

All well and good until you try and fit furniture through the door.  There are NO sofas that would possible fit through a door that size.  Time to find some do it your self suppliers who will sell good build it yourself furniture (Ikea is obvious but their sofas really are not the right quality).

It also means that other stuff will not fit through the door.  One of the key things that I need to get through is the foam insulation machine.  It is 62cm wide and 70Kg.  Gulp.  It simply will not get to all parts of the ship.  Luckily it can be fitted with 150ft of hose (at a cost).  That should enable it to reach the parts that other spray machines just cannot reach.

The original challenge of heating tanks is also solved.  There are some great 'jackets' on the market now that heat the tanks.  That won't enable the spraying to be done in winter as the walls really need to be up to 21 degrees C too.  But summer is coming and that problem should solve itself.

I was fascinated to read the instruction manual on how to spray the foam.  It was clear that you have to let each layer of foam dry and cool before adding another layer to avoid spontaneous foam combustion.  I don't often read manuals (its a bloke thing) but perhaps information like that shows that it is sometimes worth the read.

So summer is the target.  By then I need to:

Batten all the walls ready for the MDF (or ply, undecided yet) and plasterboard
Put the first fix cables in
Lay all the pipe work for heating and water
Put in any air ducting for cooker vents
Dismantle all the cabin walls (where I will sleep during this process remains to be seen) and ceilings

Not much to do then.  But determination to get this all sorted over the summer is there.

Wednesday, 27 February 2013

Portholes going in

Returning home it was nice to see light from the ship.  It was a bit of a double take as I have not seen light on board for a long time.  The reason of course is that the portholes down one side have been fitted.  And of course Dave has done a great job, yet again.