Friday 3 May 2013

Tray bon

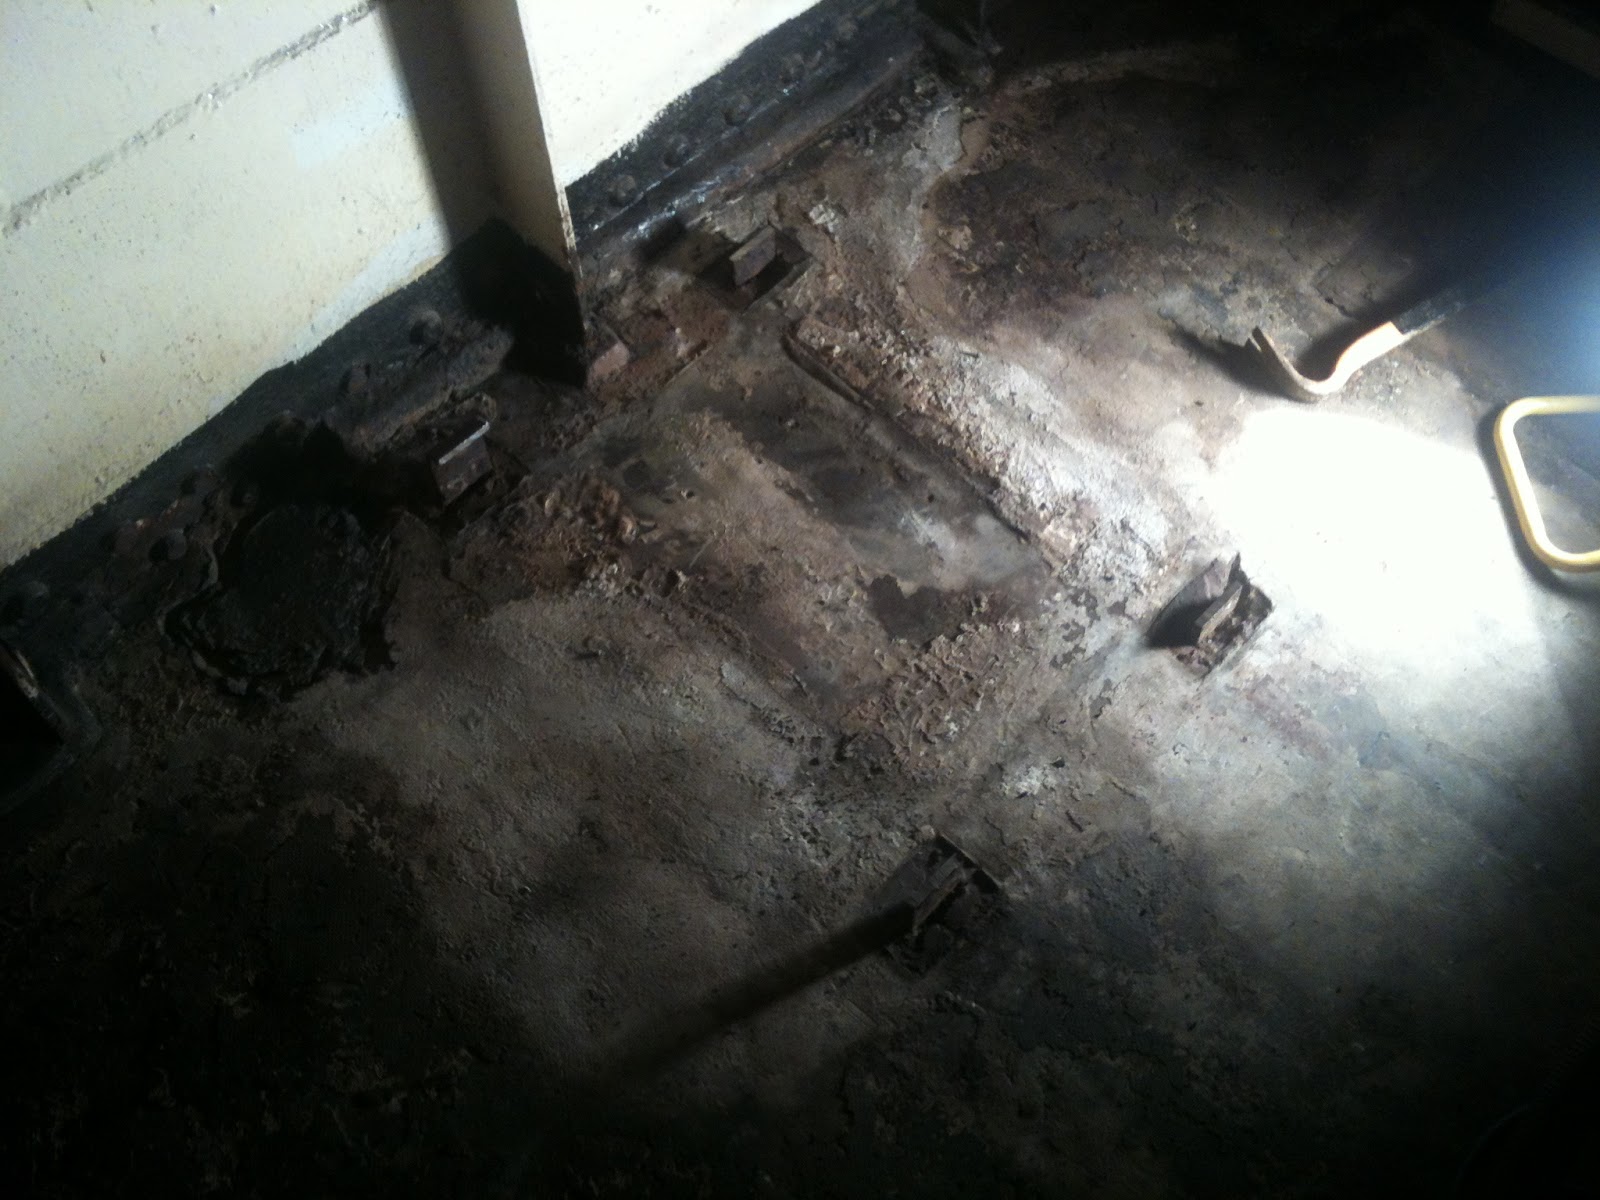
Yesterday saw me clearing the stove pieces to the back of the ship.  Good weight of scrap.  It will never go back together as it was a complex jigsaw of interdependent pieces.  Shame but there you go.  When the room was clear and cleaned attention turned to the tray that the stove sat on.  The condition of this was just awful.  It was rusted beyond a point of recovery to a standard that would make it look ok in a renovated room.  So it had to go too.

Of course it did not go without a fight.  The hammer I was using to free some of the rust from the bolts broke.  Maybe I was a little over enthusiastic beating the rust to death.   The tray has 4 legs.  Each leg welded to the metal floor.  But the metal floor is under an inch or so of concrete.  Out with the reciprocating saw.  Solution to all problems lately.  With the feet cut the tray came away easily (but as usual weighed a ton).


The last job was to put up the walls.  This was done in a few hours and I am happy to say (apart from where the chimney goes through the ceiling) that room is now done.  Next job is to fix the conduit and wiring.  I will do this as an experiment as if there are wiring issues caused by the wood now is the time to learn before starting the wood elsewhere (next room is the new toilet).


Finally, it looks like I may have found a source of new portholes!  cheap too.  Watch this space.

Wednesday 1 May 2013

Chim Chim-in-ey

Chim chim-in-ey, chim chim-in-ey 
Chim chim cher-ee!
A sweep is as lucky, as lucky can be
Chim chim-in-ey, chim chim-in-ey 
Chim chim cher-oo!
Good luck will rub off when I shakes 'ands with you

Well, not quite.  But dismantling the stove left me looking like one of the sweeps out of the movie Mary Poppins. 

It will be no surprise that the job was not easy.  The stove is basically screwed and bolted together large sheets of very very heavy steel and filled with bricks.  It took several hours.  But in the end Simon 1 - Stove nil.


First job was to remove the chimney.  It was covered in heat protection.  Nasty fibreglass type stuff so protective gear on and breath kit in place.


Next job, remove the chimney flue connection to the stove.  Relatively easy job.  This was the first time I noted that most of the stove is a kit bolted together.  Obviously at this age the screws and bolts are well rusted.


Next job was to remove the stove top.  Held down by 4 rusted screws meant that I had to drill them out to get the top off.


With the top off it was rather like a chinese wooden cube puzzle as each piece is interlinked and it has to be dismantled in order or it would not come apart.  Also, heat retaining bricks needed to be removed to get to other parts.


Eventually I realise that many of the screws and bolts needed to complete the job were underneath.  So I had to remove it from the plinth upon which it was bolted.  30 mins later and a lot of working upside down in the dark with rusty bolts and nuts I managed to separate the system from the plinth and move it to the floor.  It weighed a ton.  I then realised that the weight of this was such that it could not be moved as a whole but needed to be taken to its smallest parts.


3 hours later, the parts.


What was interesting about this stove was how inefficient it must have been.  There were 4 heat retaining bricks in the whole stove.  It really was not designed to retain large amounts of the heat produced from the small fire and I cannot see how anything could be cooked effectively.  But the job is now done and work can progress on the wood around the remaining walls.