I turned up today with the thought that I might head down the electrical suppliers and start the purchasing of various bits and pieces. But I thought again and decided it would be better to do a bit more design work first. So the morning was spent working out what the power requirements would be for each room.
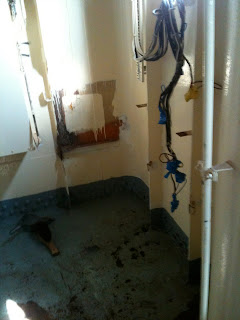
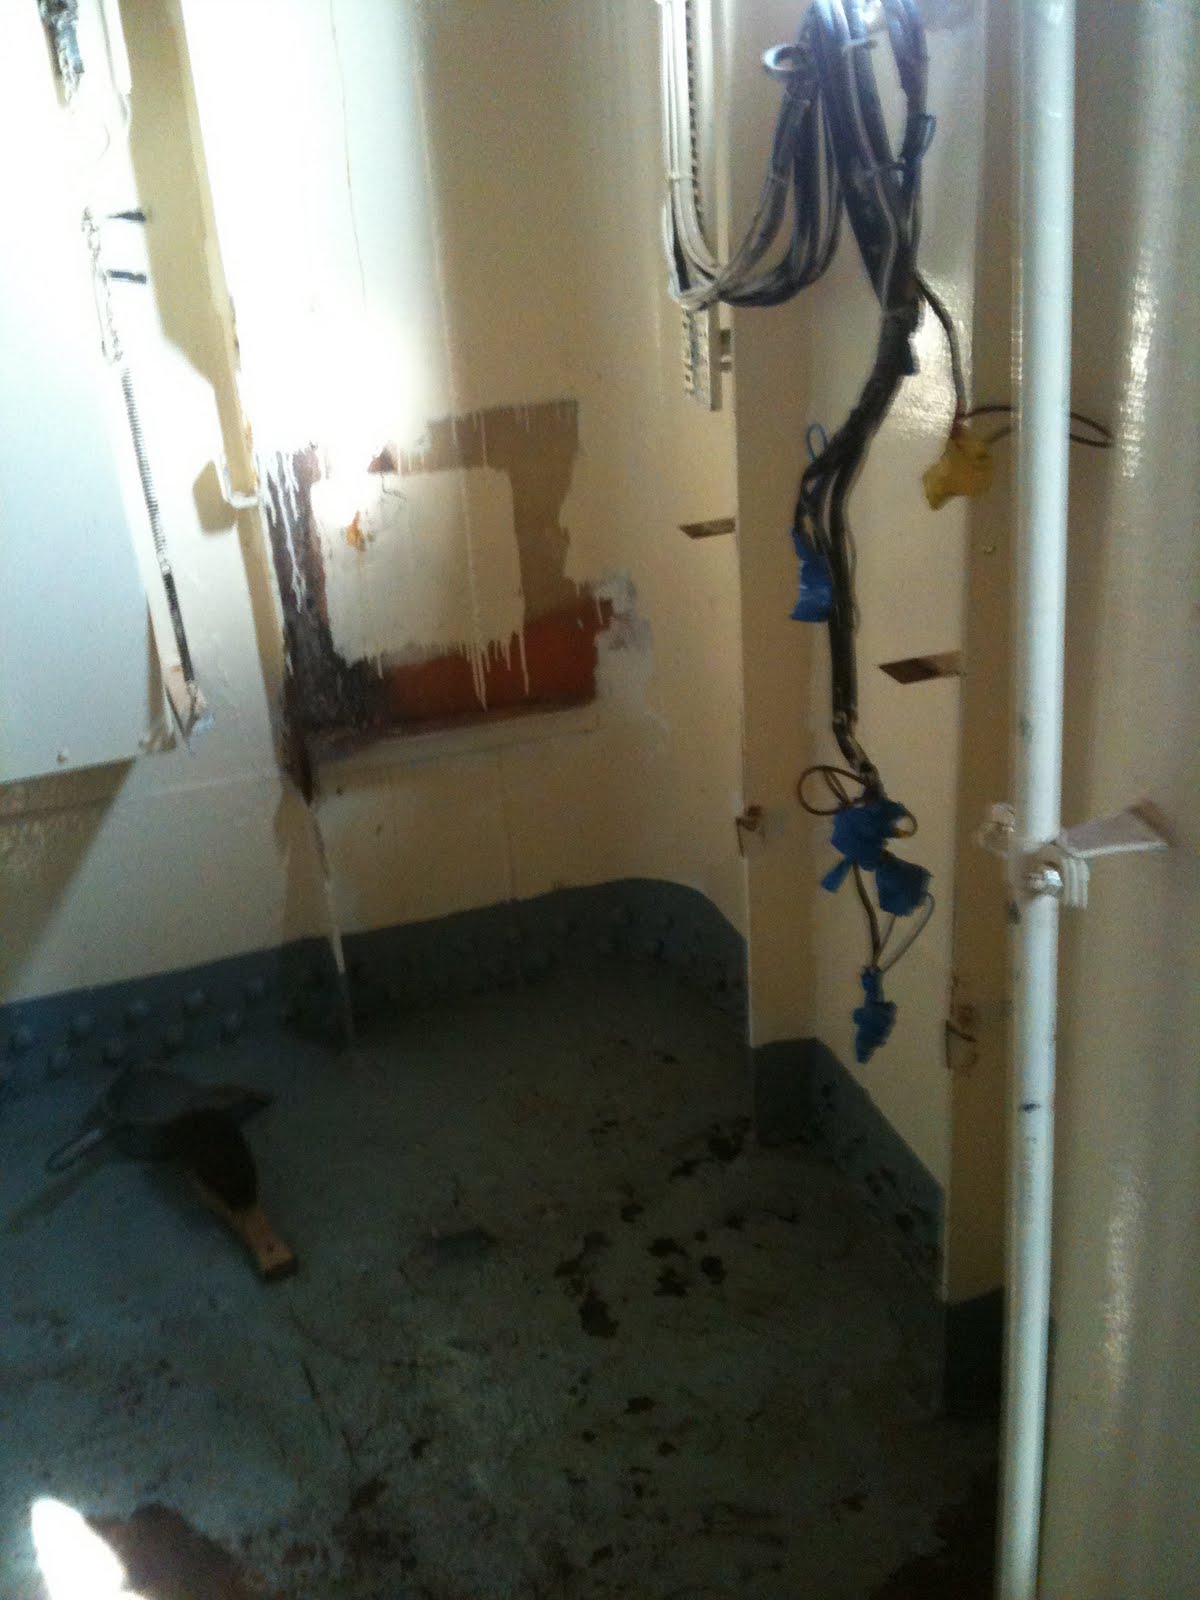
That done it was back to real work. The wheelhouse has the battery chargers in it and they are a real eye sore and quite old (early 80s). There are two massive ones which drive the 24v batteries and then 3 smaller ones driving the 12v batteries. I unwired them and then proceeded to strip out all the 12v and 24v wires (the 24v ones are over an inch thick and weigh tons). It took many hours but having removed them the overhead cable trays are now a lot thinner. The wheelhouse now only has the lighting and socket cabling.
The 3 12v chargers were a bit rusty. I am glad I did not switch them on. They looked relatively sound but the solder joints were brittle and few came off while taking out the mains cables.
The 12v and 24v cables go into the radio room. I have yet to tackle that room so I may have to move to it earlier than anticipated.
More cable destruction tomorrow.
Saturday, 30 April 2011
Friday, 29 April 2011
Its a bank holiday - So back to hard graft
With the mess now cleaned out I have turned my vandalism to the battery room. I had made good progress to a certain point last time I tackled this room. Today I had to remove the last of the wooden shelving and cut out all the metal shelves supporting the batteries.
Out with the trusty reciprocating saw. I would like to say that it was a breeze but it was not.
All the wood was saved as it appears to be mahogany. Could be useful for the build to come.
The last part of the day was spent lugging the batteries around. Holy cow they are heavy. All the wood was moved into the chain room for safe keeping. Still need to do something about the ton of stuff now out on deck.


The fate of the batteries is still to be decided. I have 10 80AH batteries and 19 of the big white ones (unidentified as yet). Thats a lot of dollars worth of batteries.
I spent some time today trying to work out cable routes. The battery room is next to the radio room which is next to the galley. I need to find the best route through for the power cables for the cabins and mess. I think the right idea is to put a consumer unit in the coat cupboard out of sight and that can sort all the power for the cabins in 2 ring mains, mess and bathrooms. The lighting for the cabins,mess and bathrooms can also all be fed from that. It will mean only one large cable to route for that part of the boat. I think a separate set of connections for the external lighting and power at that end of the boat.
I will put in a separate consumer unit (possibly same cupboard) for the kitchen. They are not that pricey and it means that if one thing is tripped it will not take out large chunks of the power elsewhere. The radio room consumer units can be housed in the battery room itself as can the consumer units powering everything else on the boat. Including the lights and fog horns etc.
That just leaves the engine room which is more complicated. There are several fuse boxes down there. These may need to be upgraded but may be beneficial to leave them in their current position as there are no issues of aesthetics down there.
Monday, 25 April 2011
Ready for the hatch
Today's task was to tackle the final wall which has the long seat and the cupboard on it. As usual, all work required me to be upside down and in the dark. The long bench seat had many screws into the back wall. Most were relatively solid and clean and cam out fairly easily. What I did discover was that the wood on the ground part of the bench was quite rotten (dry or wet rot, don't know but clearly knackered). The cupboard was a little trickier as they had kindly fitted the cupboard first and then the oven. So the drawer of the cupboard could not be removed. And yes, you guessed it, 2 screws holding the cupboard to the wall were behind the drawer. After removing the skin (what remains) from the back of my hand the cupboard was free.
I also took the table off its mounts to make sure it did not get damaged. It weighs a ton. But it is now in the galley. I could not carry it any further.
The rest of the day was spent (6 hours) removing the last 4 wall panels and the porthole surrounds. But at last it is all done.
The next step is to get the hatch cut in the wall. I measured the kitchen surfaces at home and they are about 90cm from the floor. So that should give me some guide to measure the new hatch.
The one last thing to sort in the mess is the floor. I removed some of the flooring and cannot work out what is under yet. But I have identified the underfloor heating system. Just need to work out the route to the battery room where I would like all the services to reside. Power and networking should be straight forward as a simple ring main for the sockets should suffice. Still need to work on the lighting. I would like it to be atmospheric and also low power. There are some interesting automated lighting controls but they do not look to be low power.
Talking of power, I have been looking into the various options (during sleepless nights) and systems. The mastervolt systems look good. What I would like to do is have a system that can take energy from renewable sources and shore power and generator power, push it all into one system and draw from batteries (and charge) when there is not enough power.
Some systems will allow multiple feeds for wind and shore and battery etc but none do it all. I was looking into how you could get a wind generator and solar to charge the batteries at the same time but it turns out that this is very very tricky. The problem with wind power it that its voltage varies as the spin speed changes with the wind. This is fine when charging batteries. But when the batteries are charged it has to keep generating and MUST have a load on it or it will literally self-destruct. So to sort this the wind turbine dumps its spare power to a dump which is effectively a resister that heats up.
It got me thinking, what would be better would be if the wind turbine fed a water heater in a tank so that all the power all of the time was consumed directly. It turns out that there are solutions but this is hard. The immersion heater elements cannot handle the large voltage range. I realised though that there are such things as grid tie in systems so that the turbine feeds into the mains. It struck me that if I utilised such an inverter and fed the power into the mains I could do two things.
The first is that I could use the mains level power to feed a standard heater immersion system. This would be quite good. The more wind power the less the conventional heating system will need to input to the heating. There will always be a heat sink to take power from the turbine and no energy will be wasted. Even in summer there is a need for hot water. And given the power the average turbine produces it is unlikely to ever heat the tank to levels that cause issues.
The second is that with mains I could easily feed into the standard mastervolt systems. The only challenge is that they can only take 2 or 3 power sources as inputs. To deal with this I will need to combine the solar (one day) and wind turbine power sources (both with grid ties) so that the jointly feed the main system. The mastervolt system will allow the combination of the inputs but it is still complex.
There are various autosensing power switches. They take 2 or 3 inputs and autoswitch them rapidly in a particular order. For example you could set the highest priority as turbine input then solar and finally shore power. But even this wont do. I need the system to combine rather than choose. I would want to try and boost the whole system to above the available 16 amp shore power
More investigation needed.
Photos of the day.

The oven area will be tricky. Even with the old ply walls in there area behind the oven was bare metal probably for good reason. The walling behind the oven and around the chimney will need to be heat resistant if I am to avoid some embarrassing events involving the fire brigade.


Friday, 22 April 2011
Another day another wall
Not a lot to tell today. Removed another ceiling panel (the last one). Put the lights back up and took down another wall.
All there is left to do is remove the wall on the porthole wall.
All there is left to do is remove the wall on the porthole wall.
Thursday, 21 April 2011
Finding new ways to hurt oneself
Its an obvious and easy one. Just try and take down plywood ceilings on your own. Gravity does most of the work.
Not a lot novel happened today. Just day 2 of what will be 3 solid days of removing walls and ceilings.
I had to take the light fittings down to remove the ceiling but cable tied them back up for now. No point being without light in the short term.


Not a lot novel happened today. Just day 2 of what will be 3 solid days of removing walls and ceilings.
I had to take the light fittings down to remove the ceiling but cable tied them back up for now. No point being without light in the short term.


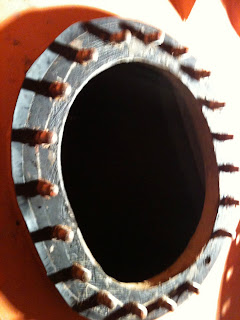
This air vent feeds air to one of the cabins below. It is big, it is welded in and it was put in AFTER the wall. It took a couple of hours to get the wall out from behind it.


When the room is stripped then the task of rebuilding can begin. This is a good test room. I will need to:
1) Take up the old flooring
2) Get the new power consumer unit put into the cleaned out battery room ready for wiring.
3) Plan the ring main for the sockets in that room.
4) Get the hatch cut our (Dave)
5) Put new battens up for the plasterboard
6) Put in the power cable conduits into the battens
7) Put in cables and wiring for light switches
Still a few decisions on my mind. Whether to go with the underfloor heating. I think this is likely to be the way to go as it means less intrusive piping. The other decision is on lighting and this is where we get into design. Not my strong point.
I have time to consider. The modern low energy bulbs cannot be dimmed. So not sure whether I will go for something more advanced.
Wednesday, 20 April 2011
Puzzling
The idea of opening a hatchway between the kitchen and the mess seemed like a good idea (at the time). The first job was to remove the white cupboards at the end of the mess.
 The cupboards themselves were not to bad getting out. A few hours of careful deconstruction. Amazing that yet again this was held together by screws that could be used to hold your house up.


 The cupboards themselves were not to bad getting out. A few hours of careful deconstruction. Amazing that yet again this was held together by screws that could be used to hold your house up.
With the cupboards out I was left with the plywood wall. It turns out it is 10mm thick. For the love of god. Why? Not only is it 10mm thick but it is screwed in using mega screws which are screwed deep into the wood, filled and painted over for 50 years. Thanks for that. But to make a hard job worse, or impossible they were very kind to fit the walls and then the ceiling. So you cannot take the wall down without removing the ceiling. But you cannot remove the ceiling as the other walls are added after the ceiling was put up! Again. Why? So what should have been a short job turned into an all day job.
The good news is that it all had to come down anyway as it needed to be insulated. At least I can practice on these walls before I get into more sensitive areas.


Apart from the huge stack of wood I need to clear the wall is now ready for the hatch to be cut.
Sunday, 17 April 2011
Hard Labour
Getting the boat to the stage where one can start to rebuild and put things in is just damn hard work. every single thing on the boat is either big or heavy or big and heavy. I took Dave through the jobs I needed him to do. That is remove the baths and various bits and pieces still attached to walls, free up the last cabin escape hatch and remove the damaged railings. I await his quote.
The boat still leans. No idea what is causing it. I am sure this is going to wind me up forever.
Two main jobs today. The first was to get the inspection hatch off one of the water tanks. I had planned to open up all of them but after I got to the first nut and tried to move it I realised as with everything else this was going to be a long job. The nuts (see the photos) are numerous and large and done up very tight in a confined space. I used a monkey wrench type thing to do the job with a bit of metal pipe added to the handle to give me more leverage. Even then I needed all my body weight (what's left of it these days) behind it to even move each nut. Each one took about 10 mins to shift. It was like a full weights work out at the gym.
I managed to break both wrenches but not before the last nut came off. They simply could not take the strain.


The second job of the day (I could not face another tank) was the battery room. I wanted to remove all the shelves and the batteries. Oh my god. No kidding. Each battery on the top shelf seemed about twice the weight of a standard car battery. Luckily there were only 10 of them on the top shelf at head height. I found new ways to hurt myself. The shelves are incredible. There is lesser wood holding up most houses and it appears to be all properly jointed solid oak! These guys must have had so much money.
3 out of 4 of the shelves were dismantled and it took about 4 hours to accomplish. One more go next trip will see the room cleared. Then I can start to plan the new electrics and start to move the cabling. I am keeping the batteries for now as even if I replace the charges the cost of batteries is so high that I will try and reuse if I can.
I managed to get the cables out from the batteries. This will mean I can start to thin out the cables in that area and strip back to the battery chargers. Its a start.
The boat will need certain jobs to be done in a certain order. I need to insulate the boat as it will be hopelessly hot in summer and cold in winter. To do this I will need to remove all walling and ceilings. This is not as bad as it sounds but before I can get the walls spray insulated I need to get the portholes sorted.
So roughly speaking
1) Remove walls
2) Cut out the portholes that are welded.
3) Get new portholes put in place
4) Spray insulate the walls and ceilings
5) Fit the plumbing/heating and first fit electrics
6) Fit networking
7) Fit the new ceilings and walls
8) Fit the new lights and radiators
Thats a rough plan. Still lots to do before I can even start part 4. I need all the rooms sorted and ready before I even start the insulation or I will need to have many trips.
So probably a month or more of removing before I start the above list.
The boat still leans. No idea what is causing it. I am sure this is going to wind me up forever.
Two main jobs today. The first was to get the inspection hatch off one of the water tanks. I had planned to open up all of them but after I got to the first nut and tried to move it I realised as with everything else this was going to be a long job. The nuts (see the photos) are numerous and large and done up very tight in a confined space. I used a monkey wrench type thing to do the job with a bit of metal pipe added to the handle to give me more leverage. Even then I needed all my body weight (what's left of it these days) behind it to even move each nut. Each one took about 10 mins to shift. It was like a full weights work out at the gym.
I managed to break both wrenches but not before the last nut came off. They simply could not take the strain.


With the tank hatch off it was time for an inspection. I have to say I was very pleasantly surprised. The tank was in excellent condition and appears to be coated in similar paint to the bilges. I have no idea if this is good from a drinking water regulations perspective (I doubt it). But the tanks are mint. A little bit of limescale and some rust from the down pipe used to take out the water.


The second job of the day (I could not face another tank) was the battery room. I wanted to remove all the shelves and the batteries. Oh my god. No kidding. Each battery on the top shelf seemed about twice the weight of a standard car battery. Luckily there were only 10 of them on the top shelf at head height. I found new ways to hurt myself. The shelves are incredible. There is lesser wood holding up most houses and it appears to be all properly jointed solid oak! These guys must have had so much money.
3 out of 4 of the shelves were dismantled and it took about 4 hours to accomplish. One more go next trip will see the room cleared. Then I can start to plan the new electrics and start to move the cabling. I am keeping the batteries for now as even if I replace the charges the cost of batteries is so high that I will try and reuse if I can.
I managed to get the cables out from the batteries. This will mean I can start to thin out the cables in that area and strip back to the battery chargers. Its a start.
The boat will need certain jobs to be done in a certain order. I need to insulate the boat as it will be hopelessly hot in summer and cold in winter. To do this I will need to remove all walling and ceilings. This is not as bad as it sounds but before I can get the walls spray insulated I need to get the portholes sorted.
So roughly speaking
1) Remove walls
2) Cut out the portholes that are welded.
3) Get new portholes put in place
4) Spray insulate the walls and ceilings
5) Fit the plumbing/heating and first fit electrics
6) Fit networking
7) Fit the new ceilings and walls
8) Fit the new lights and radiators
Thats a rough plan. Still lots to do before I can even start part 4. I need all the rooms sorted and ready before I even start the insulation or I will need to have many trips.
So probably a month or more of removing before I start the above list.
Saturday, 16 April 2011
Tidy for guests
With my first visitor due at midday I thought it time to clean up. I spent the morning moving stuff around into the front locker. Having replaced all the bulbs down there I was pleased to find that strapped to one of the rope shelves was the original chimney! That was a great find. That means I can bolt it on and get the fire going later this year. I was already looking into finding a chimney so that will save some money.
I moved all the engine spares to the engine room cupboards and removed about 5 black bags of junk and cloth and rubbish out of the boat (well, onto the deck). So another million trolley trips to do.
All the junk from the radio room was moved to the front locker leaving only the tools. That meant I could then move the big brute equipment into the radio room and restore the mess to a clean and tidy seating area. Nicer then to have visitors.
The only down side was that I discovered that the lean is not to do with the gangway sticking. I managed to move it when it was leaning badly and it did not correct the lean as it had in the past. This is going to be a tricky problem to solve.
The afternoon was spent more leisurely with a friend doing the tour and getting lots of photos. He will be sending them over so I will put them up. I did manage to open the light cabinet in the lighthouse today and get some pictures of the bulbs. The red filters on the windows make photos come out very strangely. But you can see the light for the first time below.

Tomorrow (if I can get out of town due to the Marathon) I will do today's job and inspect the water tanks. I have found a company that will do tank coatings. http://www.covac.co.uk/metal-steel-tanks.php
Before looking at this site think twice. The tanks when done look like you would be more than happy to drink out of. The tanks before hand (not just boat) will make you think what you are drinking water out of already. Gulp. I may never drink water out of a tap fed from a tank again.
It looks great technology but gut feel says its going to cost a packet. Let's see how the tanks look first. Given the state of the water pump I think it will need replacing anyway.
Friday, 15 April 2011
Isolation
I was pleased to have the isolation transformer delivered yesterday. 10 days earlier than I was expecting. So big thanks to Paul at Sutton Marine Services (http://www.suttonmarineservices.com/). He was kind enough to sort out the quick delivery from the Dutch and then drove the item to me in his van. Good service. Thanks Paul.
Fitting the device appeared to be simplicity itself (refreshing). Wired the inputs from the shore, wired the output to an RCD and then from the RCD to the isolation switch. Then plug it in and flip the switch and everything lit up perfectly. I was a little nervous that this system may have a negative affect on the other built in power systems but it all seemed to work fine.
The next job on electrics is simply to start stripping out the old wiring. I will have to clear out the old battery room and make that the new utilities space. It is a room that is of such an odd shape and small size that it will not be useful for anything else. I will move all fuse boxes to there and then rerun the cabling and fit new modern consumer units. I will need to move the transformer there to. Then fit proper 32 amp capable power cable to ensure the system is future proofed. If I move the boat in the future there is a strong possibility that I will have 32 amp shore power. That would be useful.
I spent a good deal of yesterday clearing out the cupboards. Another set of interesting finds of old tools and bits and bobs as well as some horrors. So many rubber gloves. What on earth did these guys do on board that required so many rubber gloves!
Pics of the new system in its temporary home.


Monday, 11 April 2011
Wooden Portholes
It was the big day for the Big Brute vac to arrive. Instructions on where to come had been provided by me to the company including a link to the spot in google maps and my telephone number. Needless to say the driver had none of this information and opened with a moan about how hard it to find.


Newly cleaned portholes


Not complete pics as I am storing the various bits other than the drums inside.


He dumped a pallet of stuff onto the car park and off he went. Luckily the main vac comes on its own wheels but the secondary drum had to be balanced on a sack barrow to get it to the boat. Why is everything to do with boats so damn heavy.
Take a look. Its an impressive beast that will pretty much allow me to empty the Medway if needed.
I tackled the two portholes I failed on at the weekend. I could not remove the covers so this time I bought longer saw blades and managed to remove the 8 rusted bolts. Underneath was the typical red paint. So on with the paint stripper and off to do another job for an hour while it works its magic.
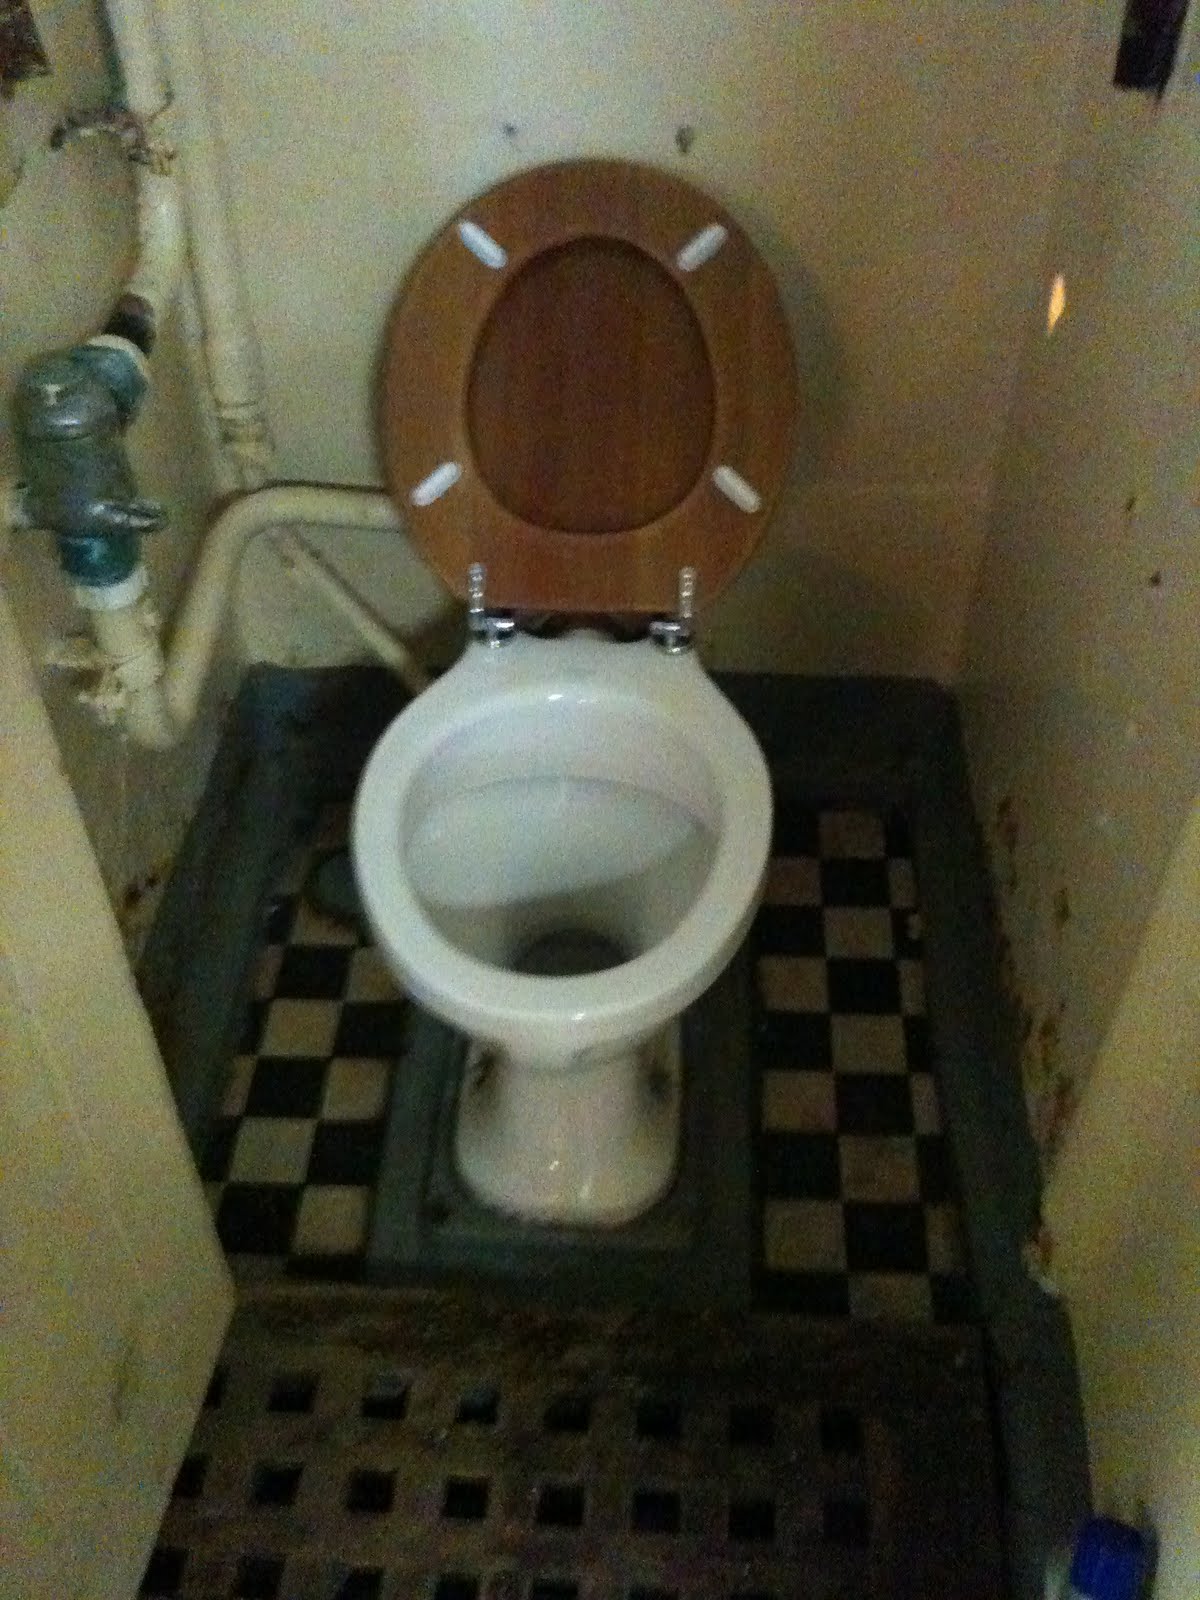
While this was soaking I did sort the toilets. I have been putting this off due to the proximity of my head to the loo while trying to remove the old seats. Puke! I cut the rear supports off with the saw and then used the crow bar to wrench the seat itself off. That just left the nuts which came off relatively easily. A quick clean of the loos and on with the new (cheap MDF) seats.
Meanwhile back at the portholes. I started to scrape off the paint. Underneath, no glass, just wood. Turns out that in each of these portholes they had put plywood discs onto the glass and then sealed them in. They came out after 20 mins with a hammer and a screwdriver (yes yes, I know, screwdrivers are not chisels).
I had a go at repairing the lock on the double doors. Alas it was rusted up solid and I had to destroy it to get it off. Never mind. It had to go one way or another.
Last job of the day was to put the covers on the air intakes. Stops the rain getting in on a windy day.
The rusted lock. I took these so I can compare it to ones on the net.


And now.... drum roll.
Toilets! yeah!

Newly cleaned portholes


Not complete pics as I am storing the various bits other than the drums inside.


I have been trying to source some parts for the loudaphone. The handset mouthpiece is missing. I took these to send to a few people to see if they had any spares. It turns out that they were used a lot on trains (old trains) and the underground. Yet there are none of these on ebay.


Sunday, 10 April 2011
Cleanup
Another wonderfully warm day down on the Medway. Makes it hard to motivate oneself to do the work. But motivate myself I did. It was time to clear the ropes off the deck. But first I had to clear out the paint locker to put the ropes into. It was knee deep in stuff. Turns out there was a whole set of proper fire hoses including the nozzle. When I get the bilge pump working it will pump into the fire hydrants and we can really have some fun. It looks like the fire system is taken from the sea. That worries me in the marina.
An hour of cleaning out the rubbish and another trip to the skips and it was clear. The ropes weigh a ton. Each about the thickness of a pint glass they are hard to handle. After the ropes were away and the fire hoses rolled nicely in the locker I cleared the deck and swept is clean. All nice on deck now.
The next job was to try and get the remaining covers off the 3 hatches and try and get the opened. I managed to open the 2 hatches under the heli pad but not the one on top deck. I could not remove the plates from the two either. But the top plate came off easily and I managed to strip the paint off and it looks good now.
There are three portholes from the windlass room into the main corridor. They too were painted over and grease ridden. An hour of work on those and now we have nice clear portholes and light at that end of the ship.
Finally I had a rummage through the draw full of keys. I managed to find a key for each of the external wooden doors. They now lock ok so this will enable better security with the external metal doors padlocked and the inner locks.


The newly cleaned cabin escape hatch porthole

A now working lock. The downside is they are badly corroded and don't look like they will be restorable.

Subscribe to:
Posts (Atom)